React Native Environment Setup
React Native - Environment Setup

There are a couple of things you need to install to set up the environment for React Native. We will use OSX as our building platform.
| Sr.No. | Software | Description |
|---|---|---|
| 1 | NodeJS and NPM | You can follow our NodeJS Environment Setup tutorial to install NodeJS. |
Step 1: Install create-react-native-app
After installing NodeJS and NPM successfully in your system you can proceed with the installation of create-react-native-app (globally as shown below).
C:\Users\Itechwebnig> npm install -g create-react-native-app
Step 2: Create a project
Browse through the required folder and create a new react-native project as shown below.
C:\Users\Itechwebnig>cd Desktop
C:\Users\Itechwebnig\Desktop>create-react-native-app MyReactNative
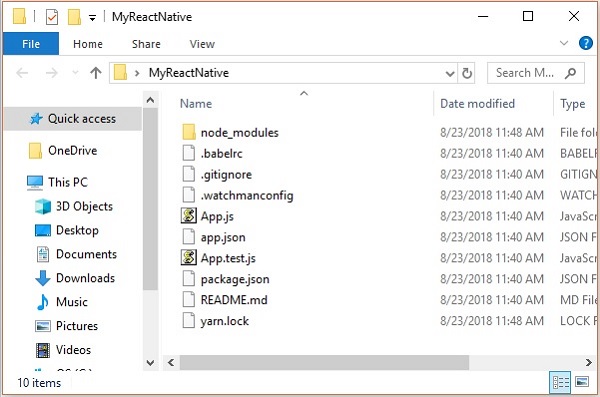
After executing the above command, a folder with specifies name is created with the following contents.
Step 3: NodeJS Python Jdk8
Make sure you have Python NodeJS and jdk8 installed in your system if not, install them. In addition to these, it is recommended to install the latest version of yarn to avoid certain issues.
Step 4: Install React Native CLI
You can install the react-native command line interface on npm, using the install -g react-native-cli command as shown below.
npm install -g react-native-cli
Step 5: Start react native
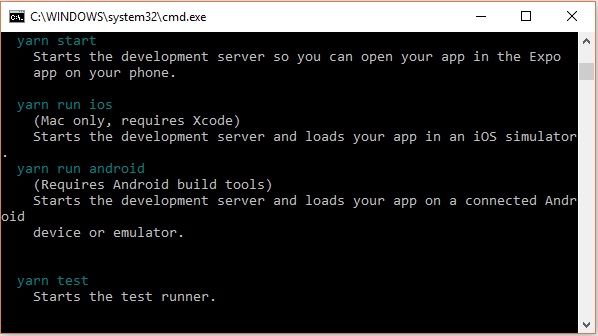
To verify the installation browse through the project folder and try starting the project using the start command.
C:\Users\Itechwebnig\Desktop>cd MyReactNative
C:\Users\Itechwebnig\Desktop\MyReactNative>npm start
If everything went well you will get a QR code as shown below.
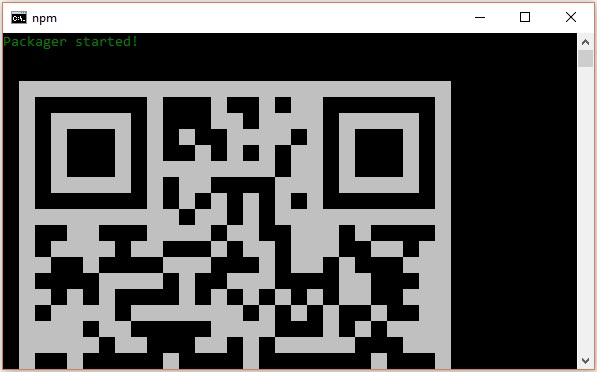
As instructed, one way to run react-native apps on your android device is to using expo. Install expo client in your android device and scan the above-obtained QR code.
Step 6: Eject the project
If you want to run android emulator using android studio, come out of the current command line by pressing ctrl+c.
Then, execute run eject command as
npm run eject
This prompts your options to eject, select the first one using arrows, and press enter.
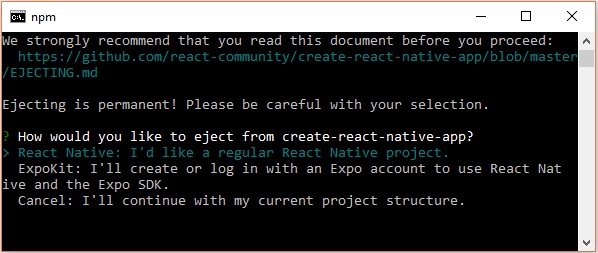
Then, you should suggest the name of the app on the home screen and the project name of the Android Studio and Xcode projects.

Though your project ejected successfully, you may get an error as −
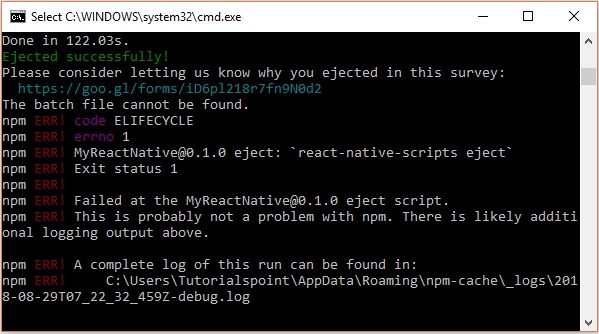
Ignore this error and run react-native for android using the following command −
react-native run-android
But, before that, you need to install an android studio.
Step 7: Installing Android Studio
Visit the web page https://developer.android.com/studio/ and download an android studio.
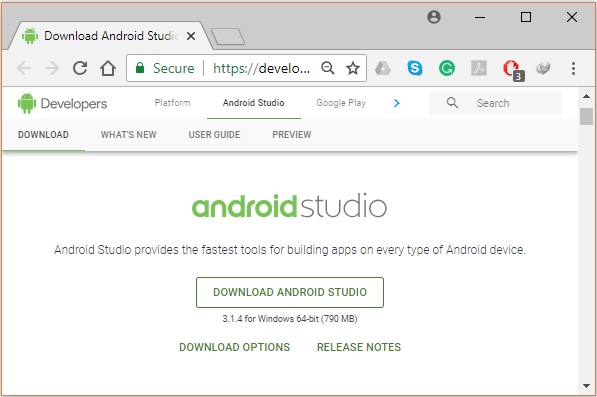
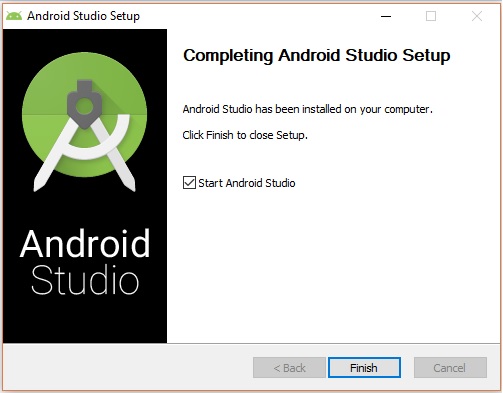
After downloading the installation file of it, double click on it and proceed with the installation.
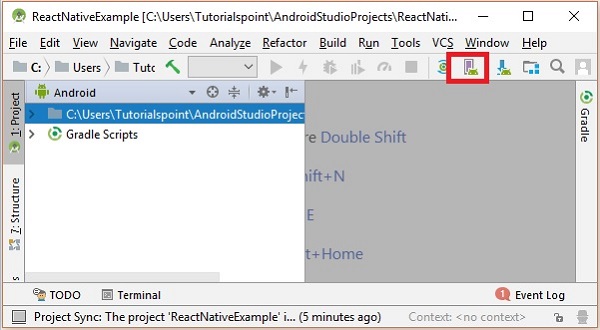
Step 8: Configuring AVD Manager
To configure the AVD Manager click on the respective icon in the menu bar.
Step 9: Configuring AVD Manager
Choose a device definition, Nexus 5X is suggestable.
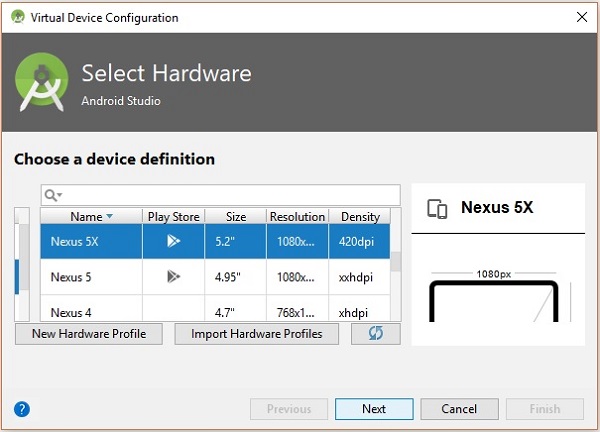
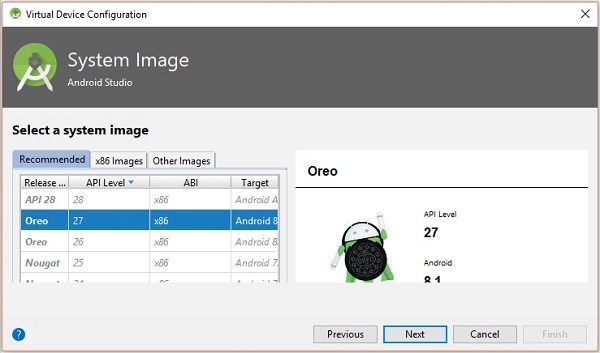
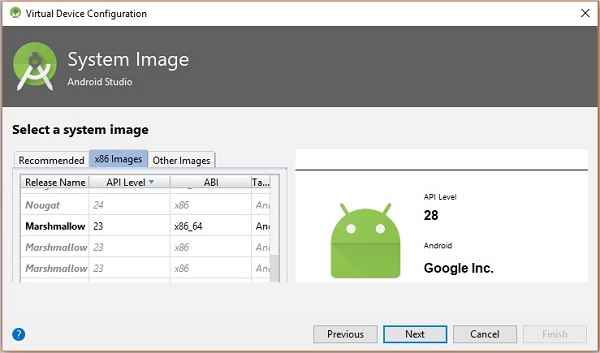
Click on the Next button you will see a System Image window. Select the x86 Images tab.
Then, select Marshmallow and click on next.
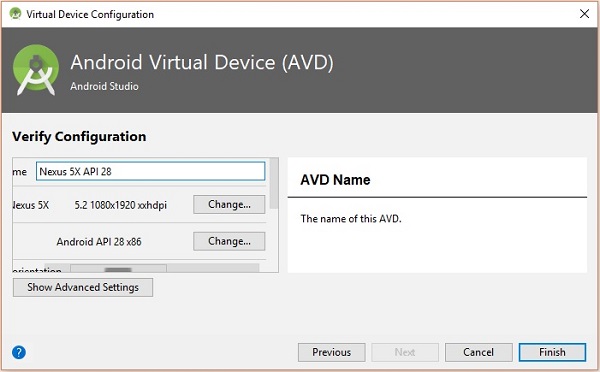
Finally, click on the Finish button to finish the AVD configuration.
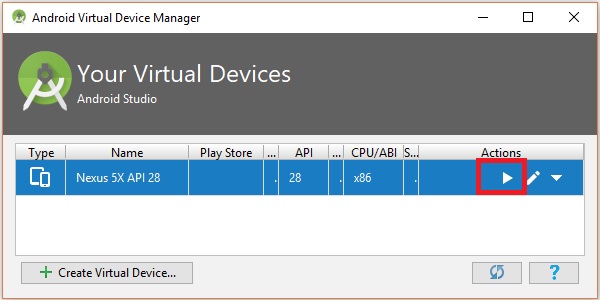
After configuring your virtual device click on the play button under the Actions column to start your android emulator.
Step 10: Running android
Open the command prompt, browse through your project folder and, execute the react-native run-android command.
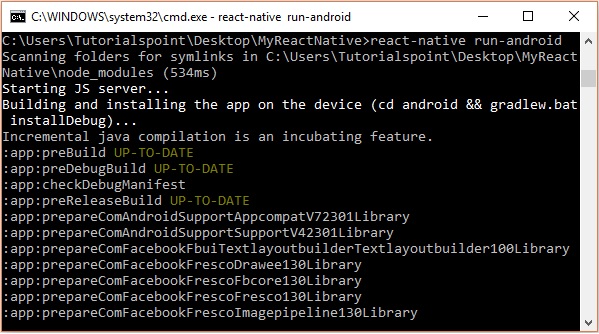
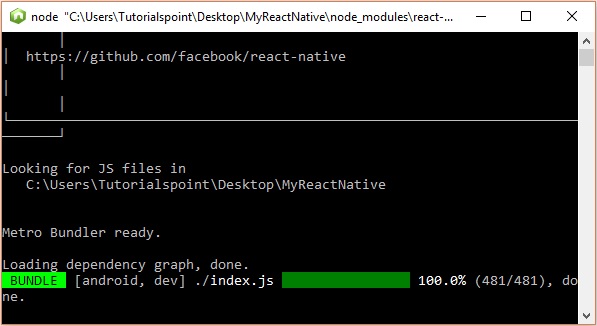
Then, your app execution begins in another prompt you can see its status.
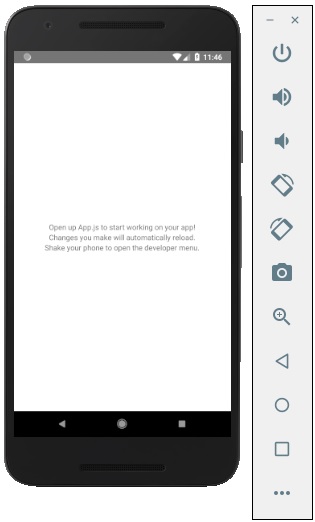
In your android emulator, you can see the execution of the default app as −
Step 11: local.properties
Open the android folder in your project folder SampleReactNative/android (in this case). Create a file with named local.properties and add the following path in it.
sdk.dir = /C:\\Users\\Itechwebnig\\AppData\\Local\\Android\\Sdk
here, replace Tutorialspoint with your user name.
Step 12: Hot Reloading
And to build applications modify the App.js and the changes will be automatically updated on the android emulator.
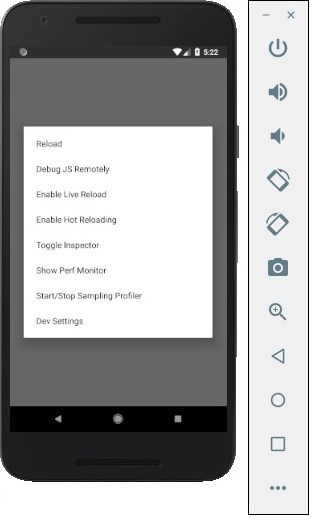
If not, click on the android emulator press ctrl+m then, select Enable Hot Reloading option.


コメント
コメントを追加